In this post we will cover all the required steps to create a realm on Cisco FMC with AD, but let me first explain in a nutshell what is a realm and why we need it. There is a couple of requirements that we need to configure on the FMC before an identity policy can work properly. One of the requirements is the realm and another is the agent that will actively or passively feed the FMC with the users and groups IP mapping and their login activities on the domain controller.
A realm is a connector between the FMC and a remote entity. The remote entity will have visibility of the users and groups directories, but it does not necessarily have to be directly connected to those directories. The entity can also learn the users and groups metadata passively and then share it with the FMC.
An example of this is when leveraging ISE passive identity. In that case, ISE will passively learn about the users and groups from the AD, and then it will share the metadata with the FMC through pxGrid.
The FMC will then use those data to perform user awareness. This means the FMC will have visibility of the AD users and groups which can be used on the ACP rules. This gives a lot of advantages comparing to the traditional way of using the IP addresses for the traffic filtering. The main advantages of this is the ability to track down the user activity, and to react quickly in case of a security incidents.
The realm is an important part of this process, but we also need the agent to feed the FMC with the users and groups metadata, as well as the identity policy itself. There is much more about identity policy which I will cover in another post, but for now, let's just focus on how to create a realm on FMC with AD type.
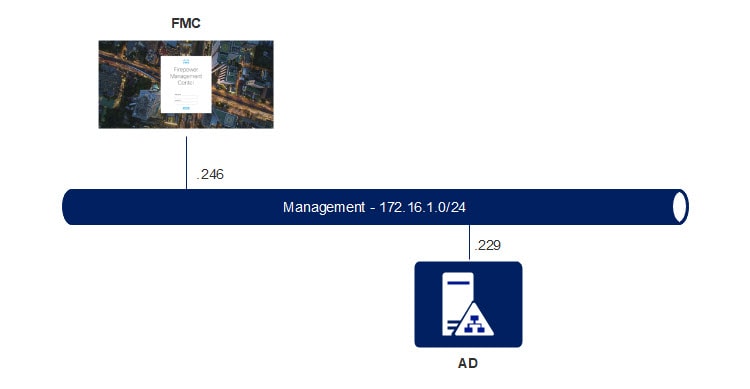
Topology:
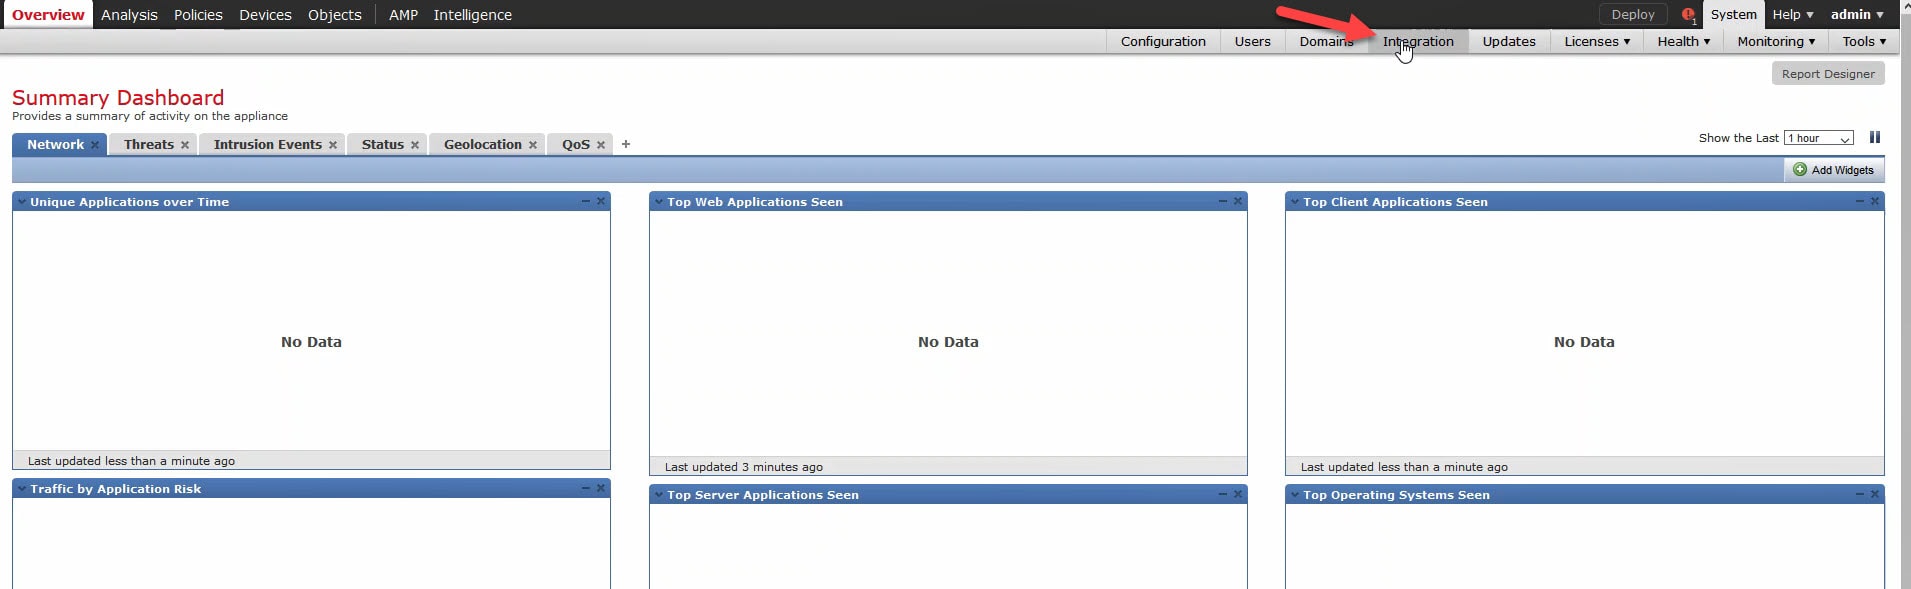
1) Go to System > Integration:
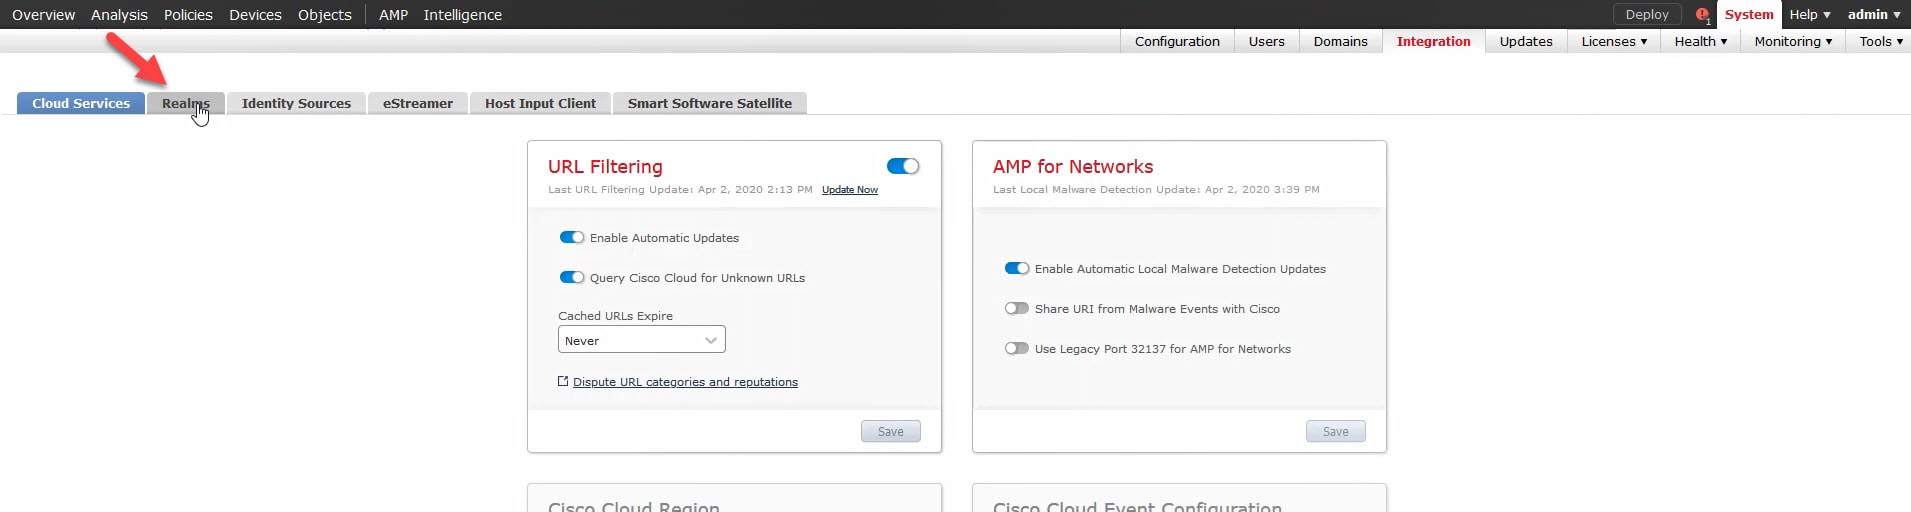
2) Click on Realms:
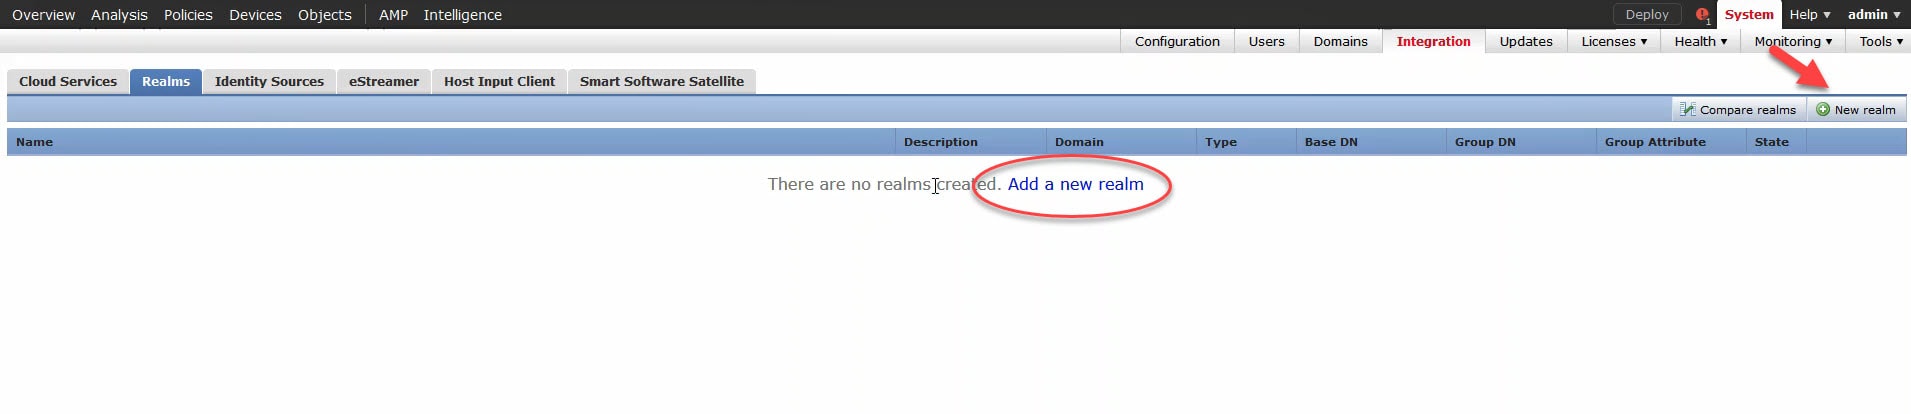
3) Create a realm:
You can click on any of the below two highlighted options.
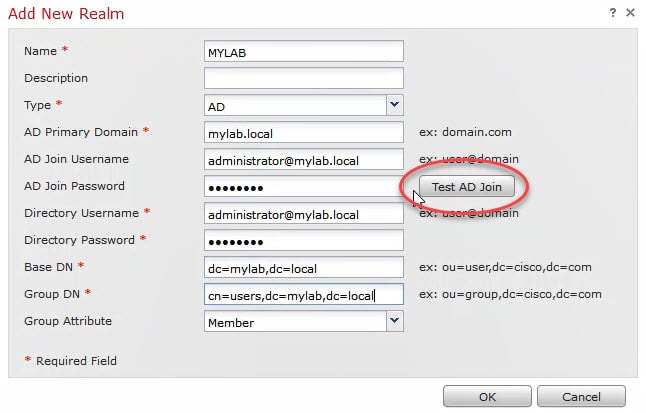
4) Active Directory Details:
Fill up all your AD details, and then click on Test AD Join to verify the connectivity between the FMC and the AD.
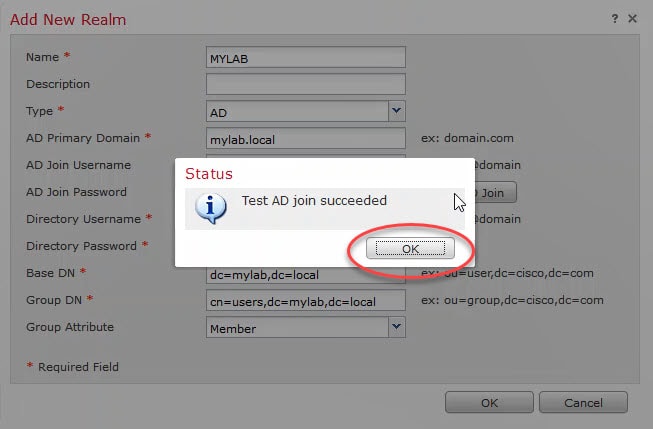
You should get a similar message as the below. If the details your typed in are correct and you continue to receive an error, just ignore it. So, click OK and go to the next step. The reason why I am saying this is because sometimes the FMC might return an error message with no obvious reasons when the connection is actually working.
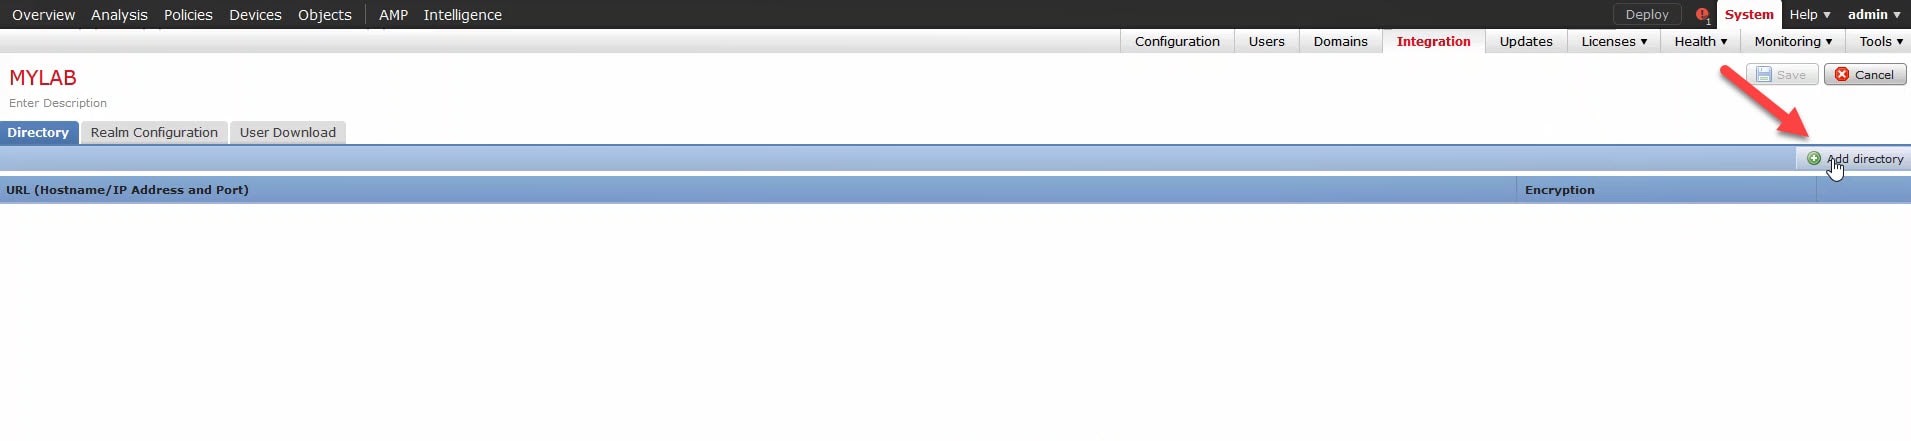
5) Click OK twice and click on Add directory:
If you did not import the certificate into the FMC yet, you can do it directly by clicking on the green plus button, or, by going to Objects > Object Management > PKI > Trusted CAs > Add Trusted CA. Either way, it will ask you to add a name and then to browse or to paste the certificate content.
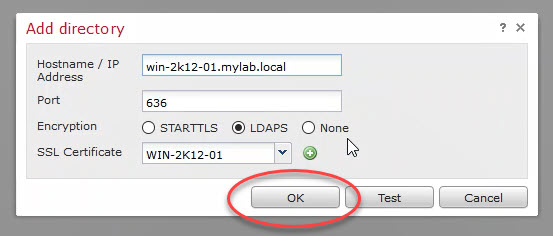
6) Directory details:
Add the directory details and click on Test to test the directory connectivity. Type the active directory FQDN if you want to use LDAPS, and select the LDAPS public certificate from the drop down menu.
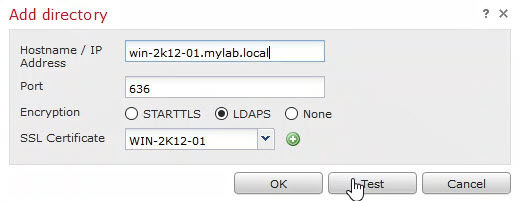
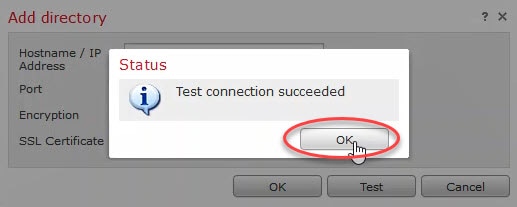
You should get a connection succeeded message similar to this:
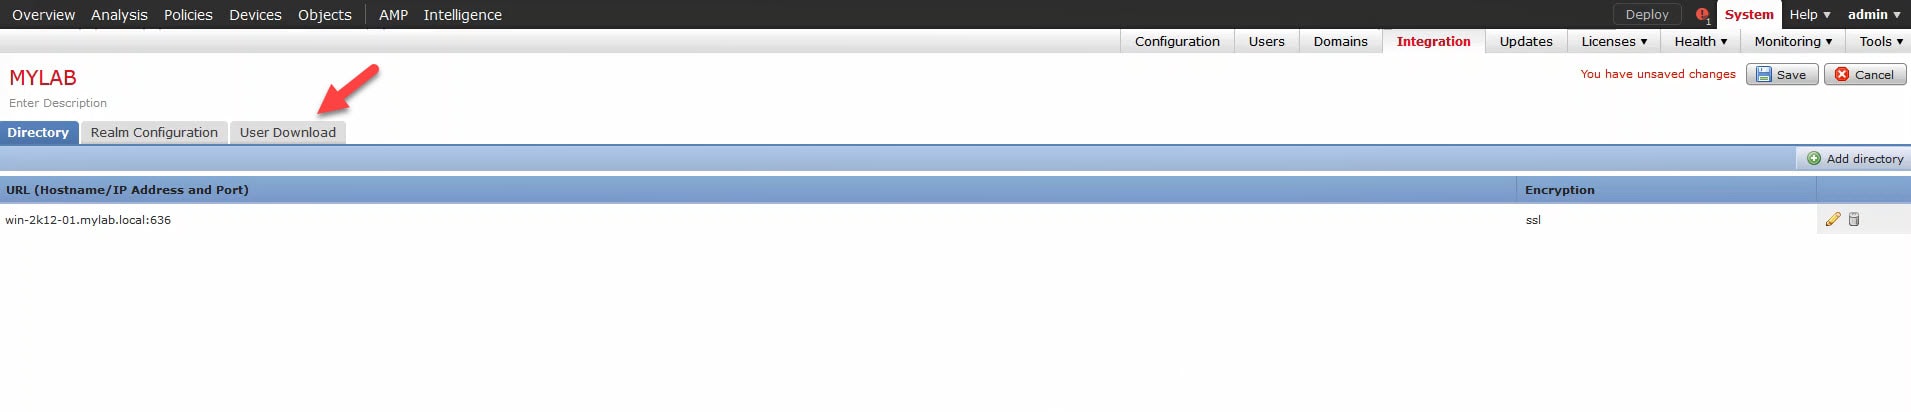
7) Click OK and go to User Download:
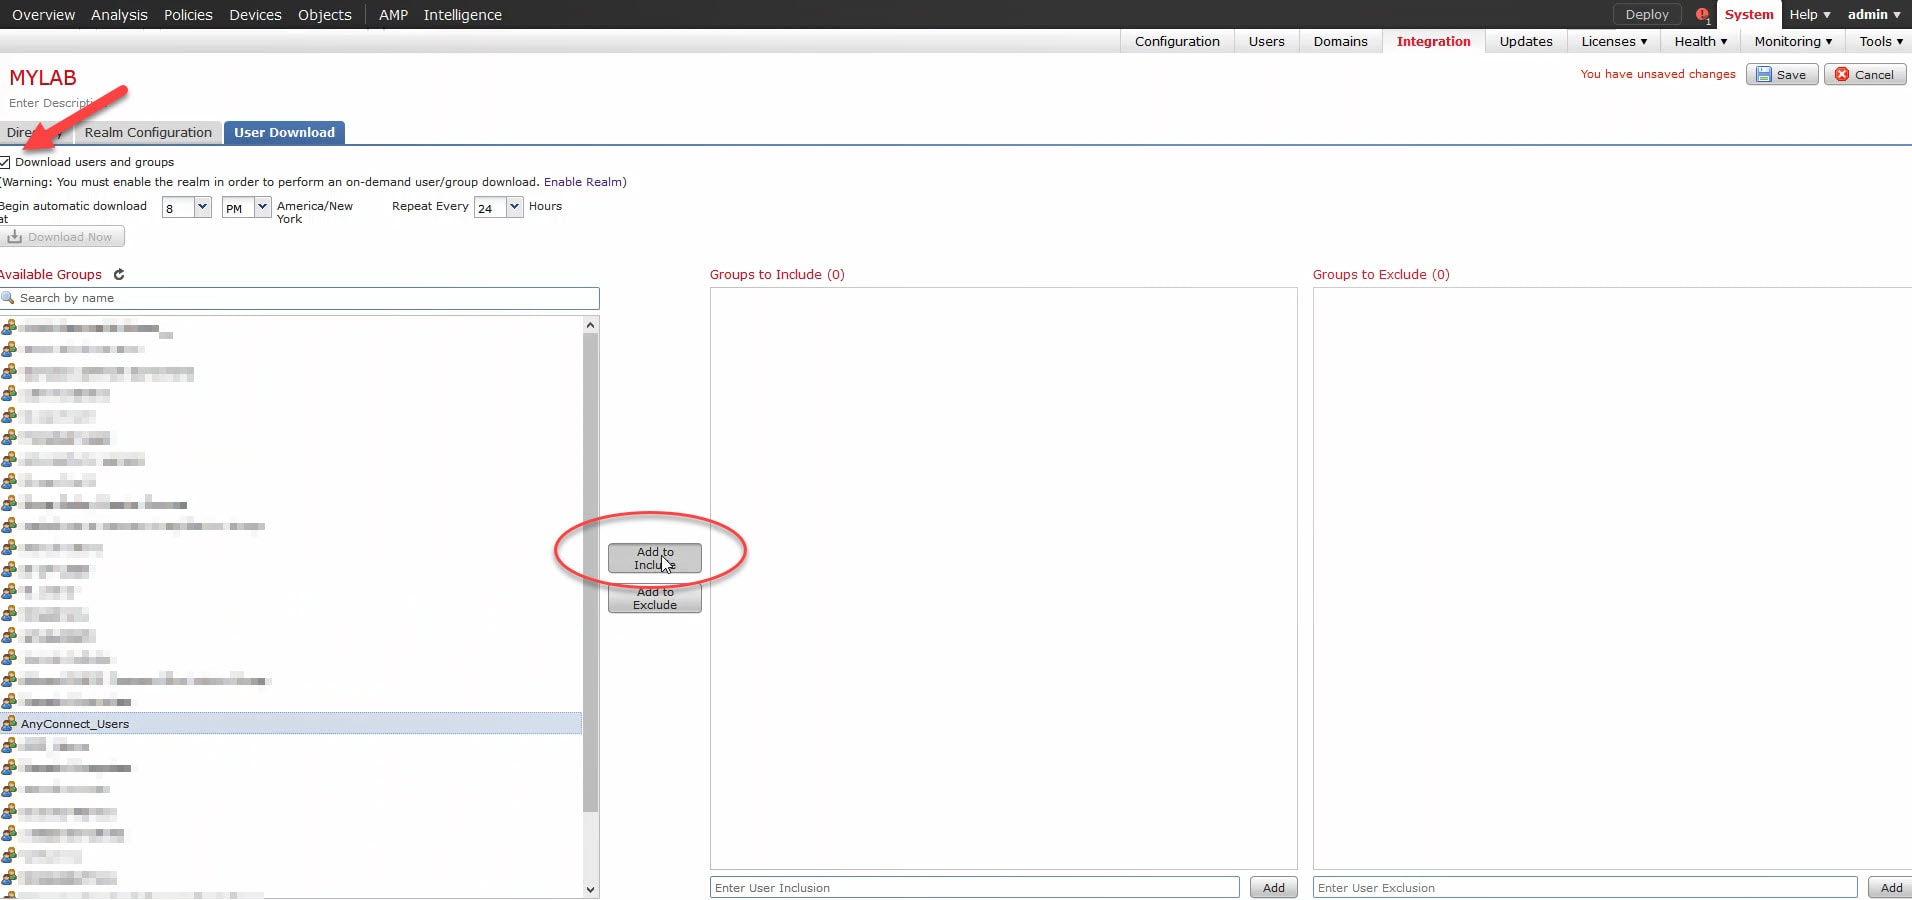
8) Select the AD groups:
You should see the AD groups on the User Download left side pane. Check the tick box next to Download users and groups. You can specify the time to auto download the users and groups from the AD. You can also set a timer in hours to repeat this operation. Select the AD group you want the FMC to use for user awareness and click on Add to Include.
9) Click Save:

10) Enable the realm:

11) Click on the download button:
We need to do this because the users and groups are not yet downloaded to the FMC. Hence, if you go to the access control policy (ACP), you would see nothing if you click on the realm from within the ACP rules.
The exception for this if you have set a time to download the users and groups that has passed already by now. In that case you don't need to manually download the users and groups.

12) Confirm the users and groups download:

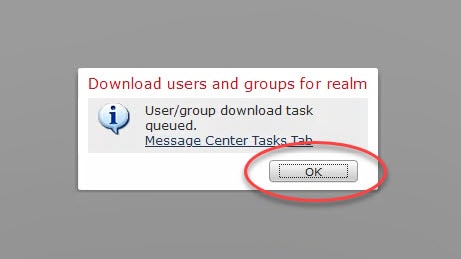
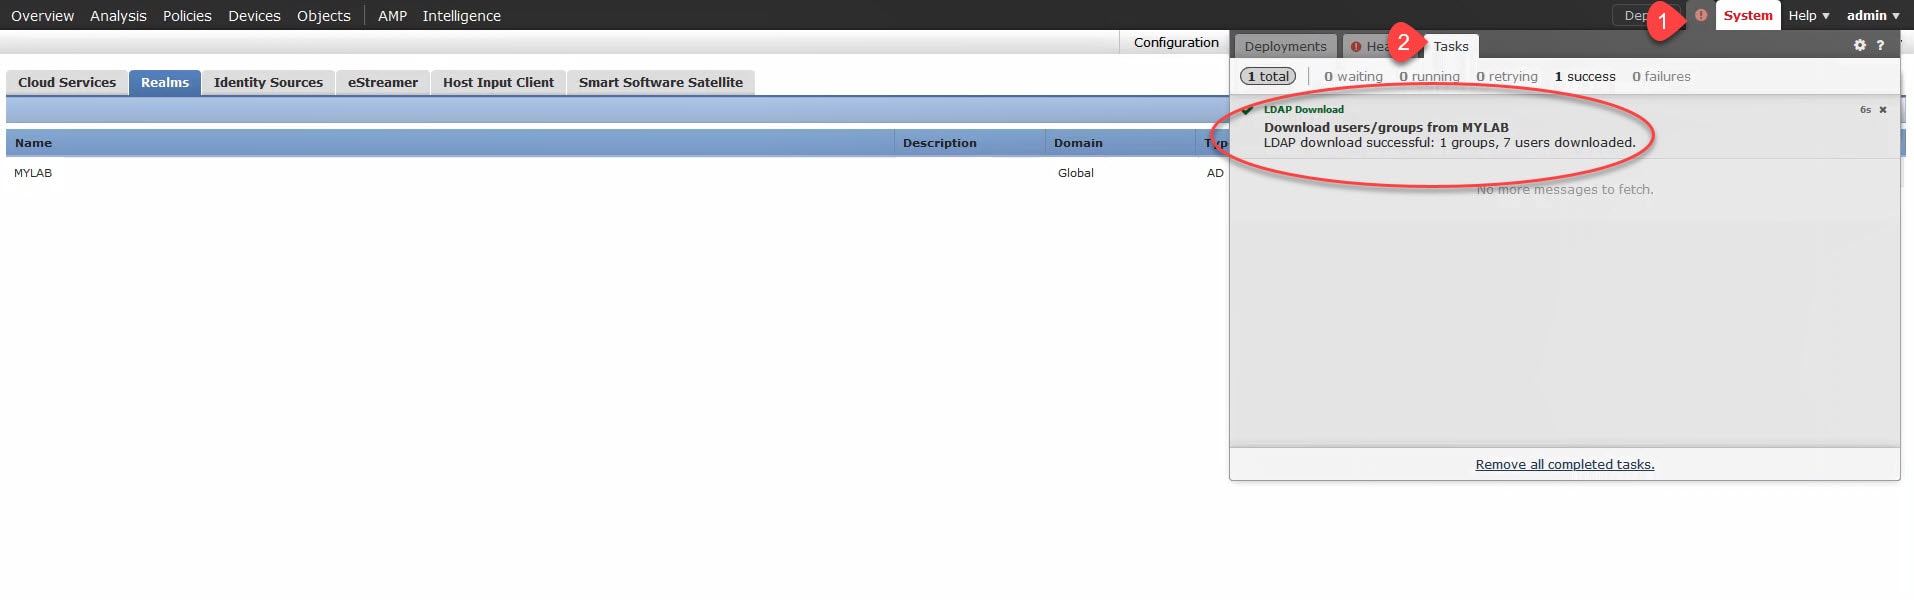
13) Verify the users and groups download:
To verify the users and groups successful download, click on the notifications button and go to Tasks. We could click on the Message Center Tasks Tab hyperlink in the above image to go to the same place.
I will cover the agent and the Identity Policy in the next coming posts.
I hope this has been helpful, and thank you for reading.
THANK YOU