The FMC Identity Policy is a requirement when we plan to use the users or group in our Access Control Policy. Many companies nowadays are moving away from the traditional ways of configuring the security policies based on the IP addresses. The main reasons of this is because using the IP addresses is not really scalable. And managing such security policies would become a true headache.
Think about if you want to block social media for a group of users but not for a specific one. Or say you want to allow a couple of users to connect to a specific website or IP address but not any other one in the company. You got my point!
With the legacy way that would not be possible, or at least it would not be guaranteed. Again the reason is because the traditional way of setting up the security policies would only look at the source IP addresses. Therefore, if a user changes the IP, or connects from another workstation the security rules would not match any more.
The two types of authentication that we can configure with the FMC Identity Policy are Active and Passive authentication. Active authentication would require the users to provide their authentication details. That would happen in a form of a captive portal. However, the Passive authentication would be leverage by trusting another entity as the source to provide users identities. An example of this when integrating ISE and FMC using pxGrid. A post will coming soon about this.
Before we go ahead with the FMC Identity Policy configuration we should create a realm. However, in this post the realm configuration will not be covered as I'd already covered it in this post. Let's dive in the configuration part.
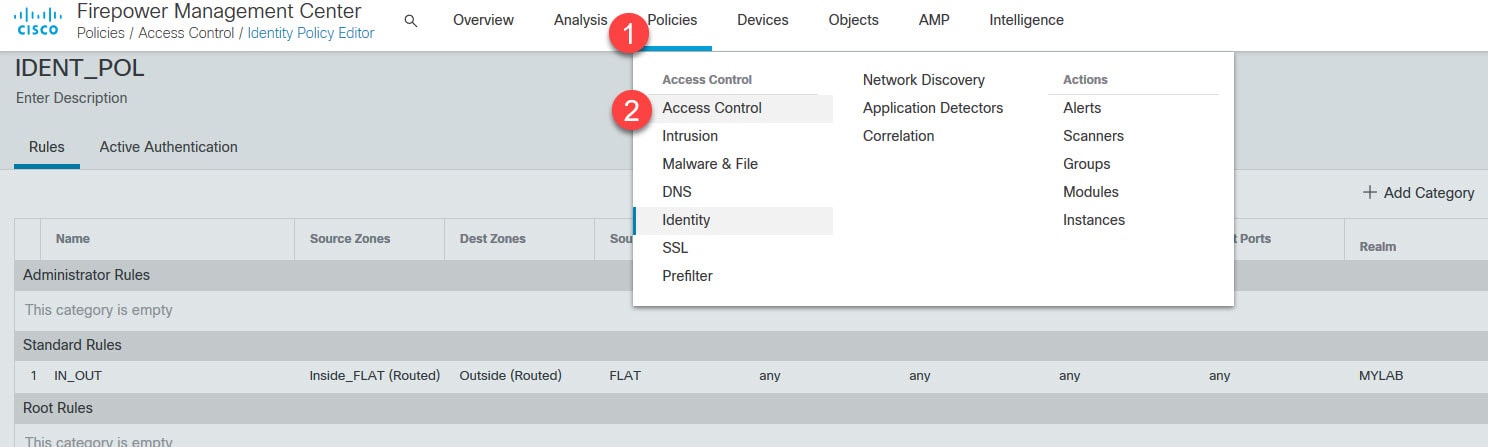
Go to Policies > Access Control > Identity
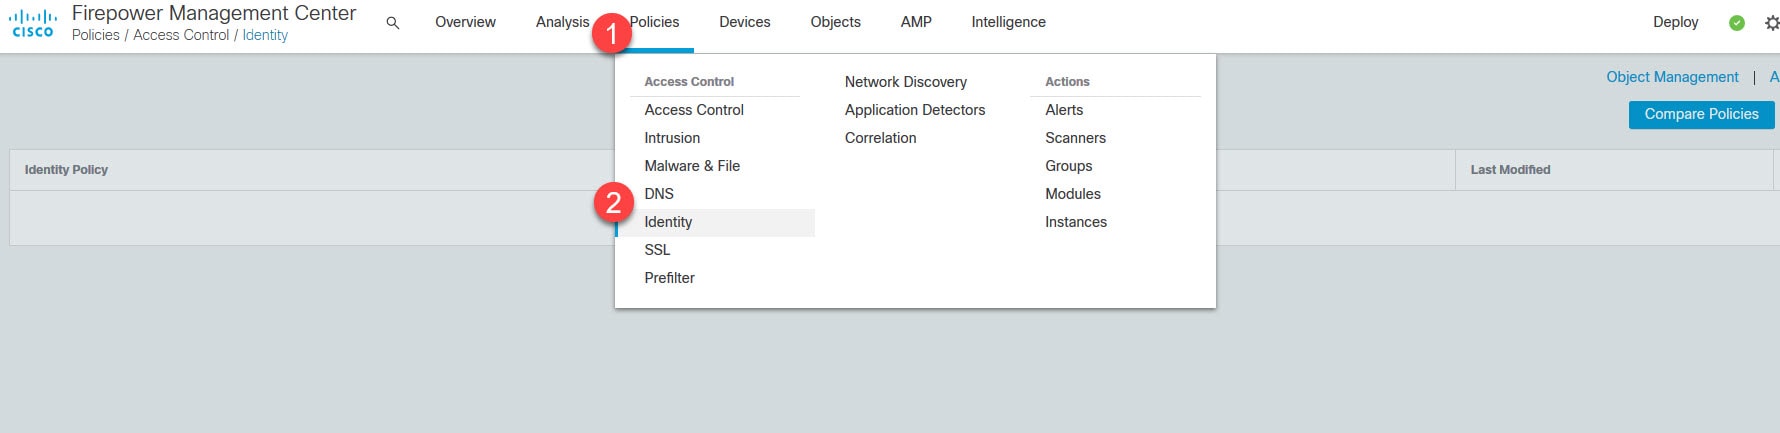
Click on New Policy

You can use the New Policy button or the Add a new policy hyperlink to create the Identity Policy.
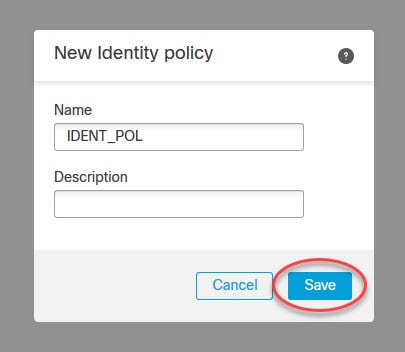
Name the new Identity Policy and save
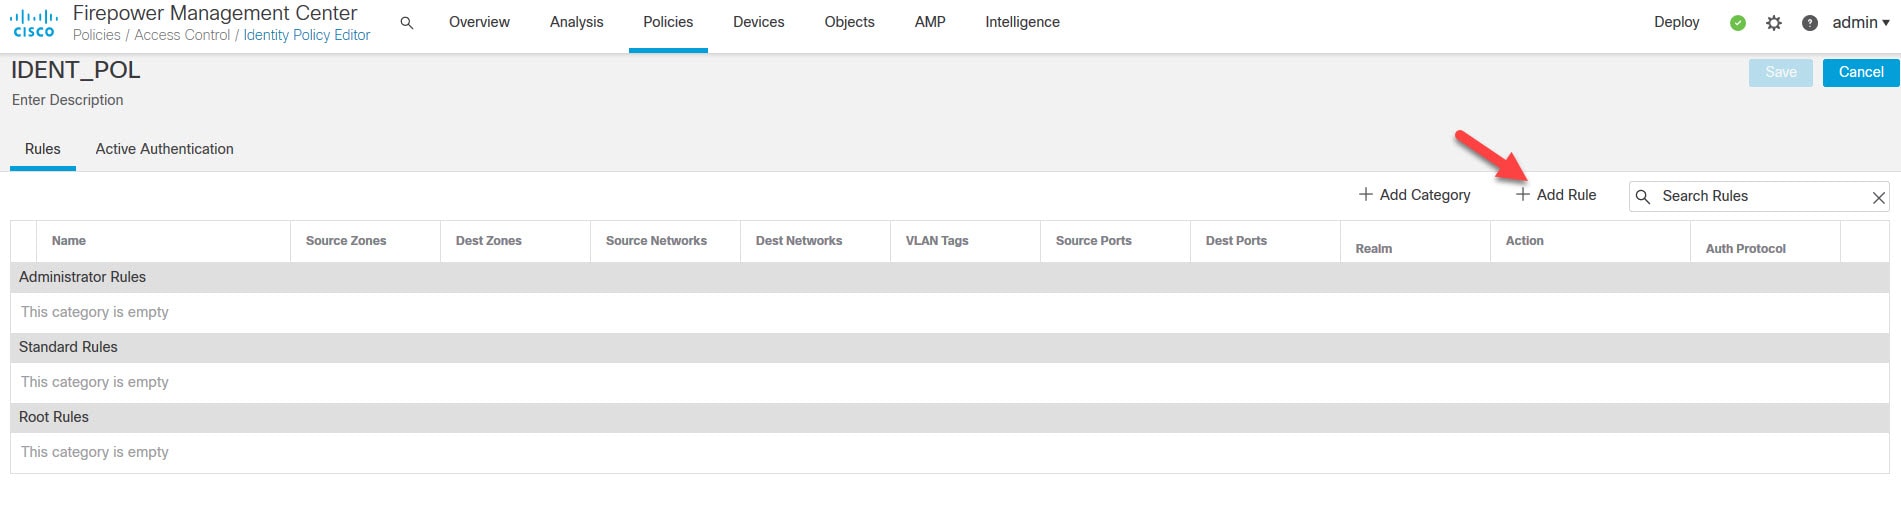
Click on Add Rule
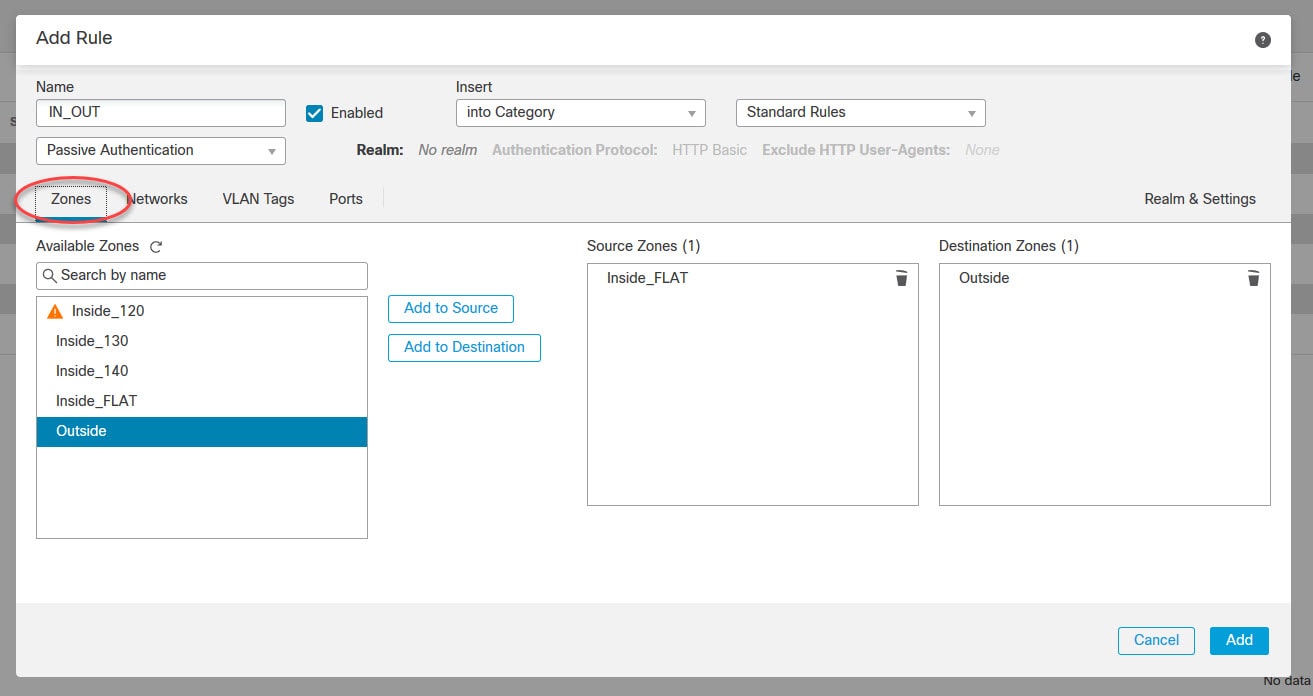
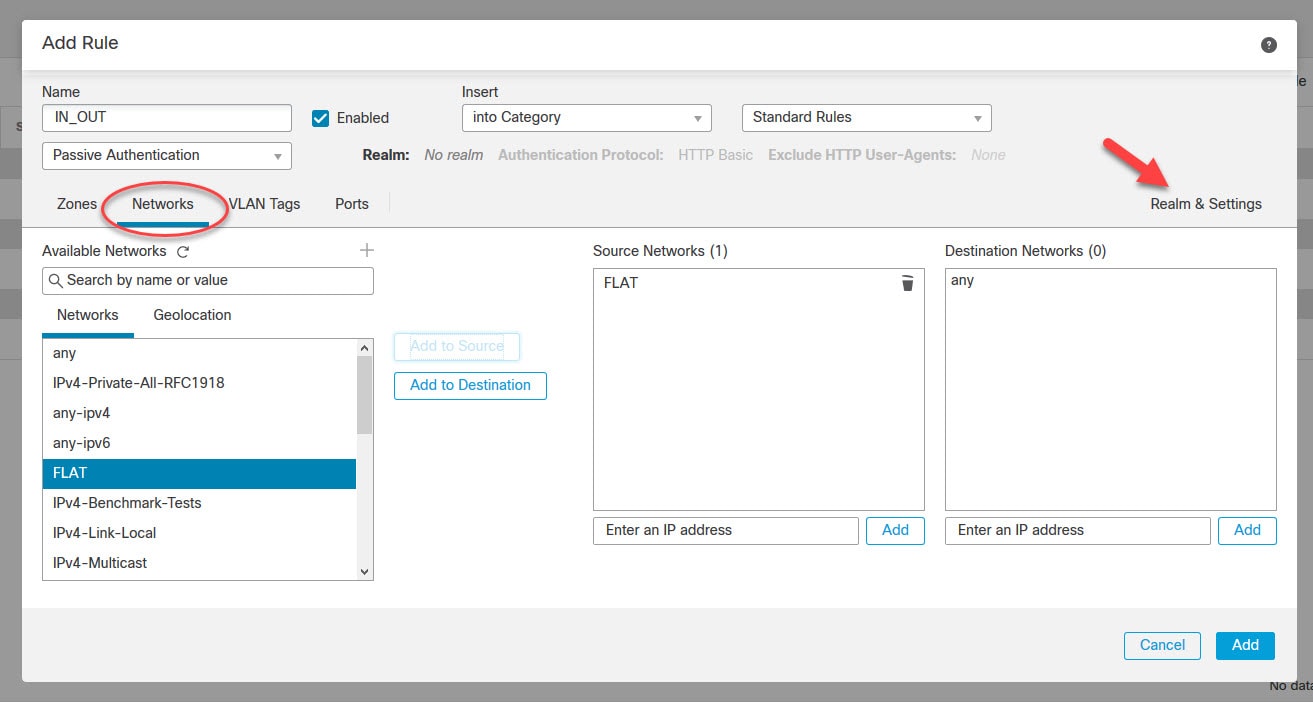
Add the source and destination zones
Add the source and destination networks
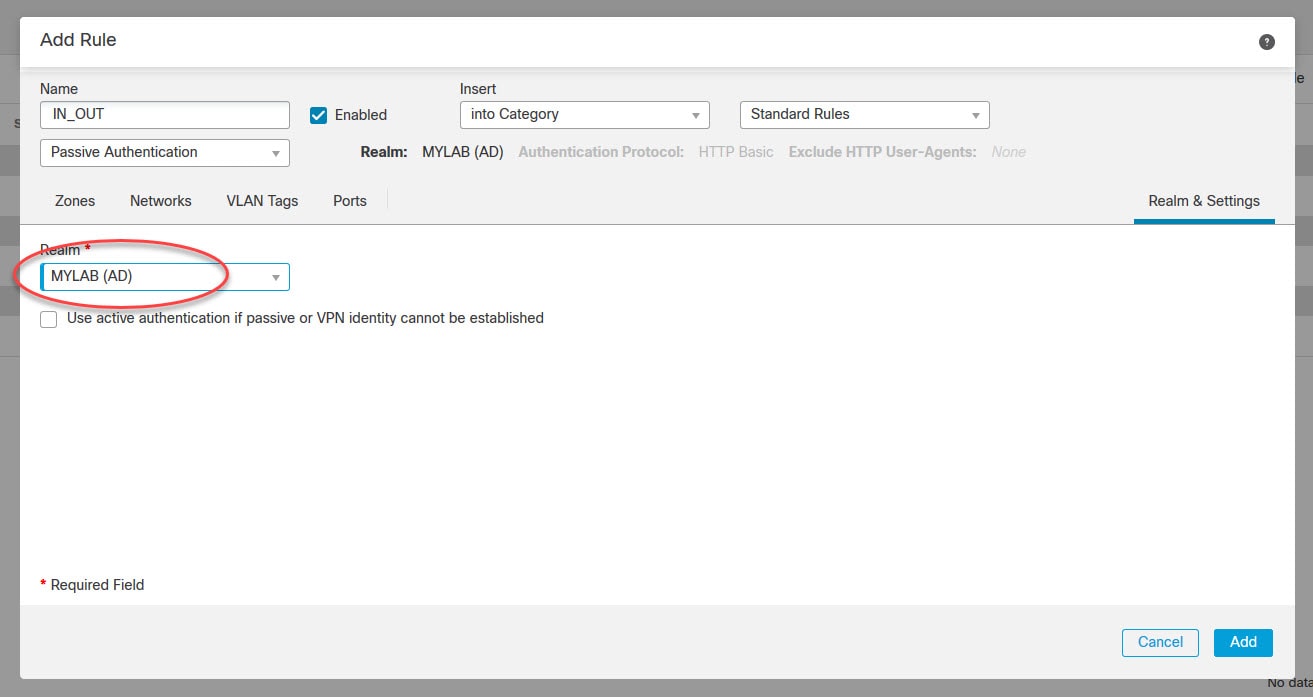
Go to Real & Settings tab and select the realm you had already created and click Add
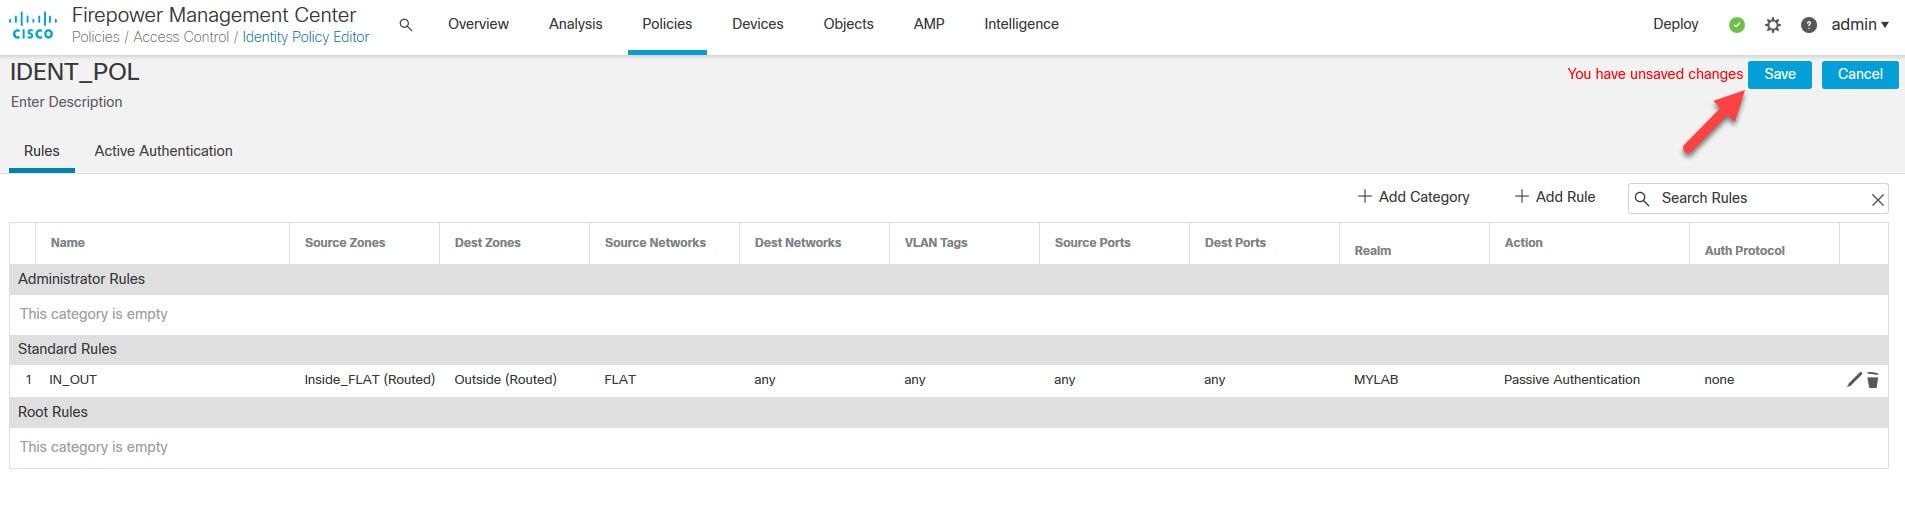
Click Save to save the Identity Policy we've just created
Go to Policies > Access Control > Access Control
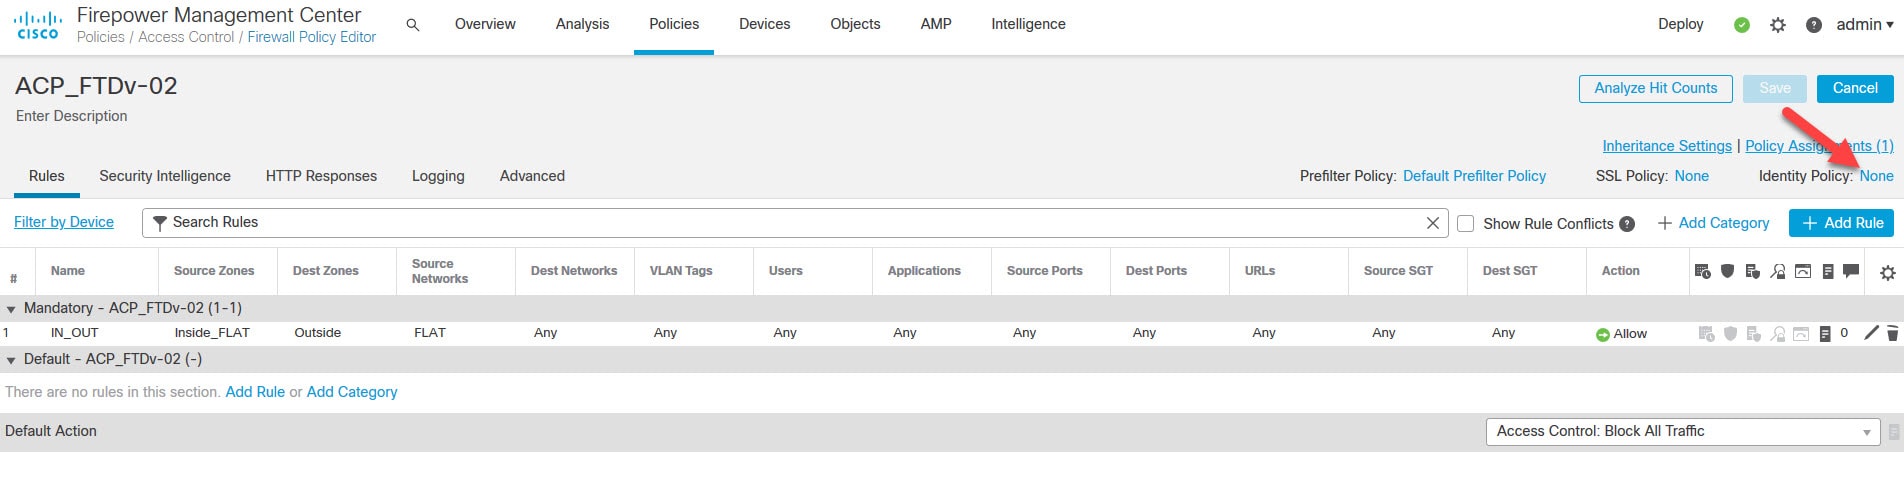
Click on the pencil icon to edit the Access Control Policy

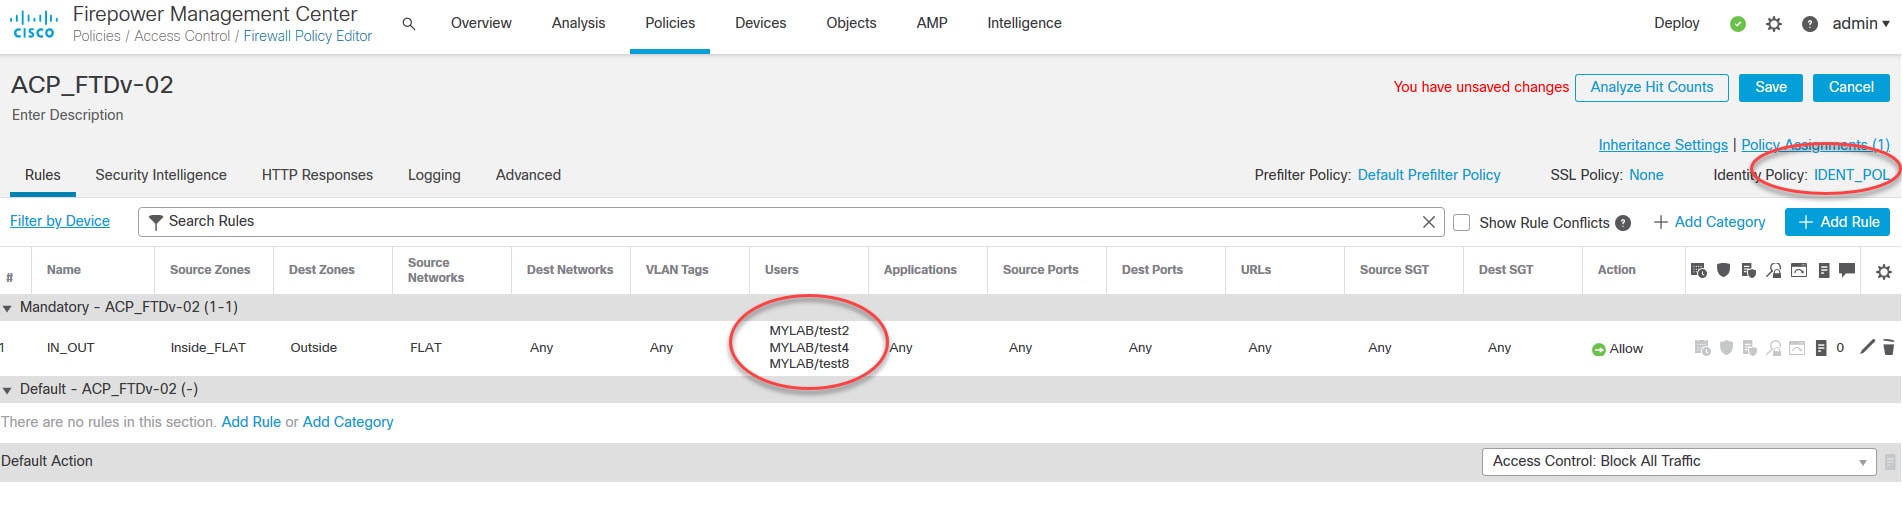
Click on None next to Identity Policy to associate the new Identity Policy to the Access Control Policy
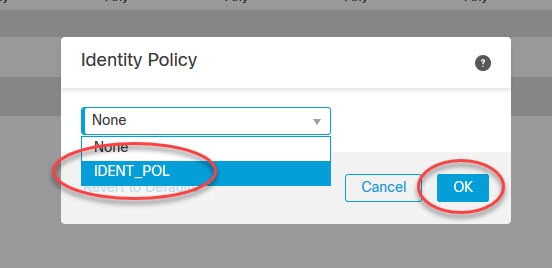
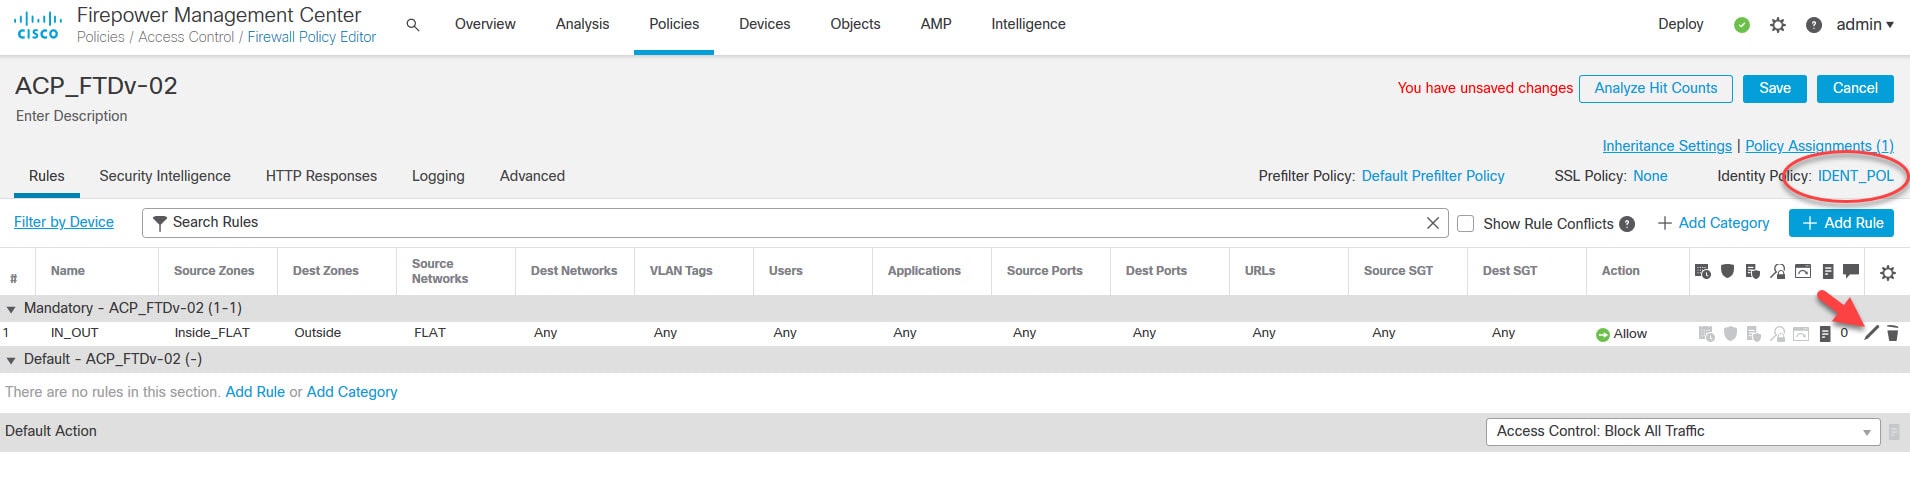
Select the new Identity Policy we created above
Click on the pencil icon to edit the Access Control Policy rule
Click on the realm name on the left pane, and select the users you want to add to the Access Control Policy rule
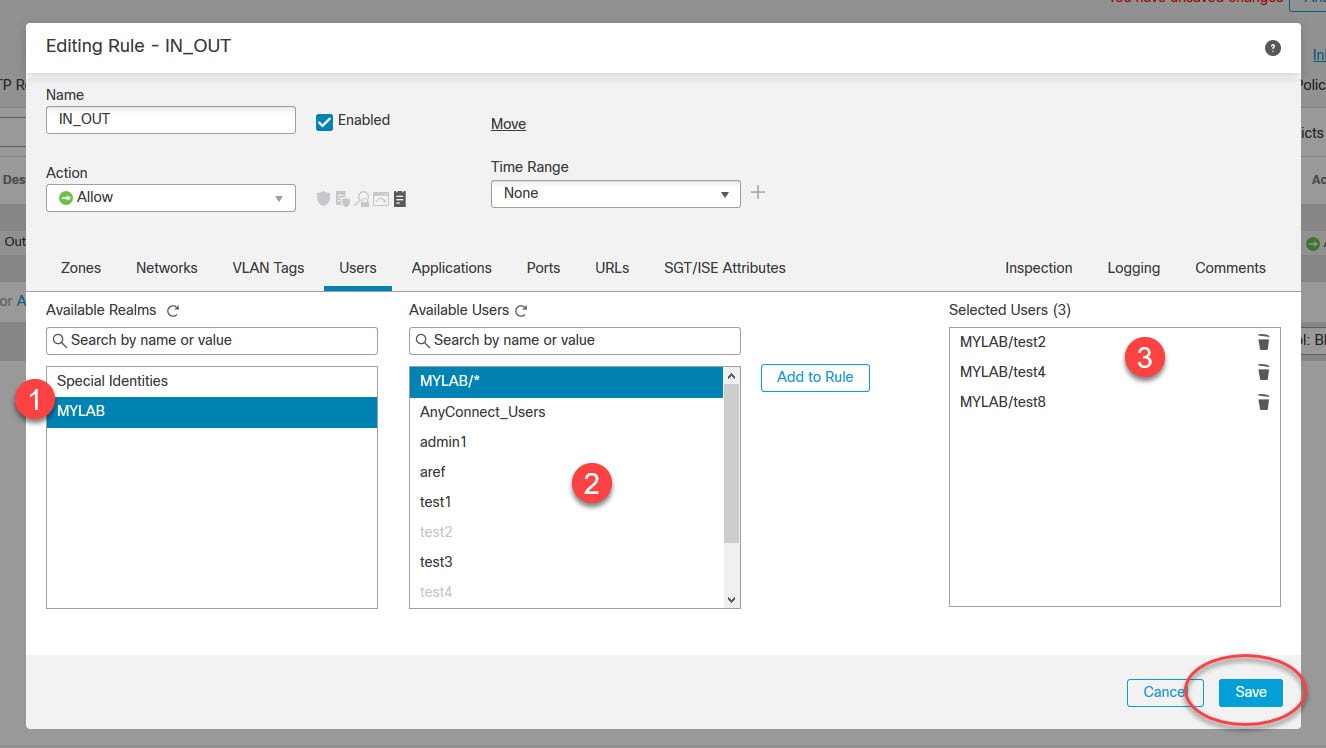
You can also select the AD group instead of the users. The reason why we only see one AD group on the Available Users list is because I had added only that group when I created the realm. The users you see on that list are the users belonging to that group.
Click on Save on the top right to save the Access Control Policy changes
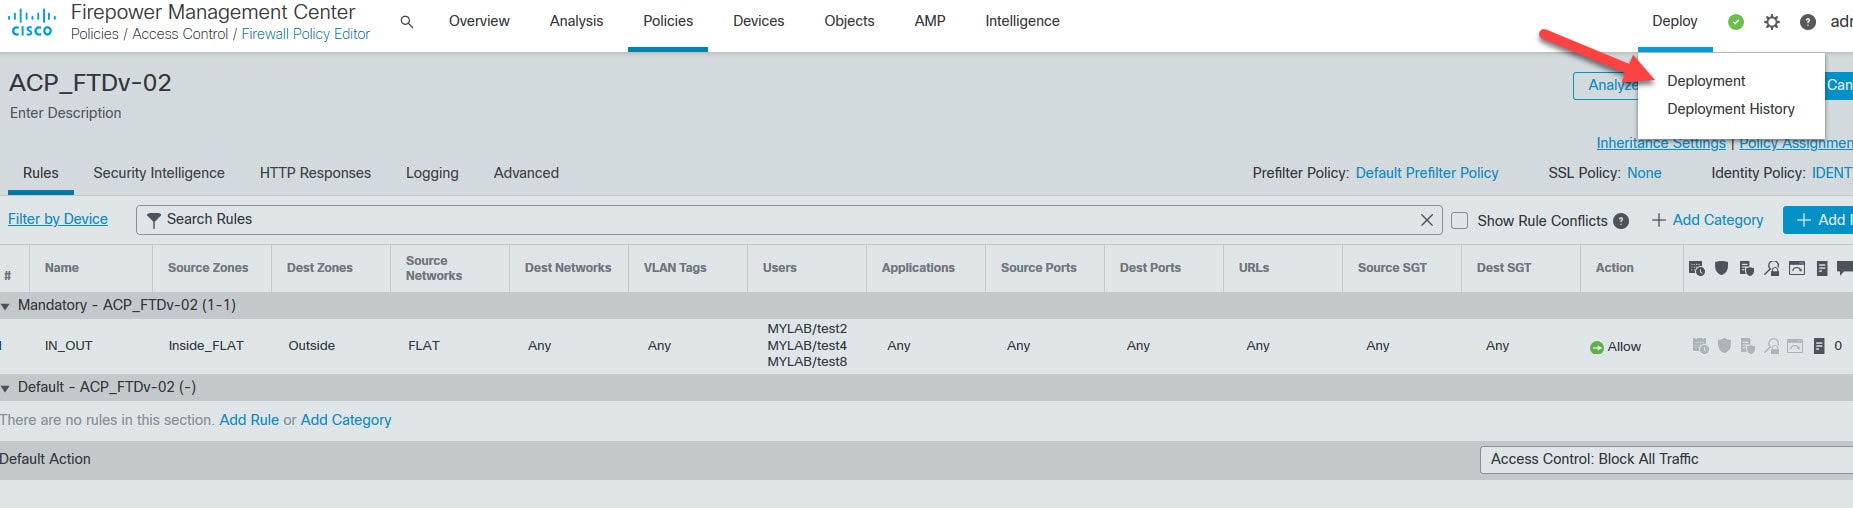
Go to Deploy > Deployment to push the changes to the FTD appliance
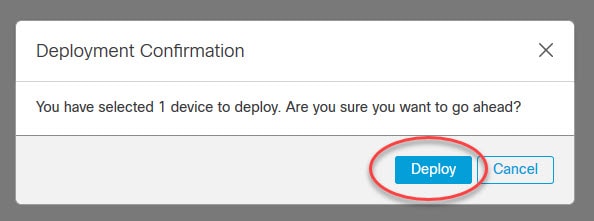
Select the FTD appliance and click Deploy

This wraps up this post about configuring the FMC Identity Policy. In the next post I will show you how to integrate ISE and FMC through pxGrid.
Thank you for reading!